💡
[한빛미디어]Spark 완전가이드 를 보며 정리한 내용임.
* 서적구매 : https://hanbit.co.kr/store/books/look.php?p_code=B6709029941
Test Code
# python3
# 챕터에서 사용하는 샘플 코드

df = spark.read.format("csv")\
        .option("header","true")\
        .option("inferSchema","true")\ # inferSchema 옵션으로 최대한 데이터를 파악하여 타입 설정
        .load("/Users/jinsu/study/spark/Spark-The-Definitive-Guide/data/retail-data/by-day/2010-12-01.csv")

df.createOrReplaceTempView("dfTable")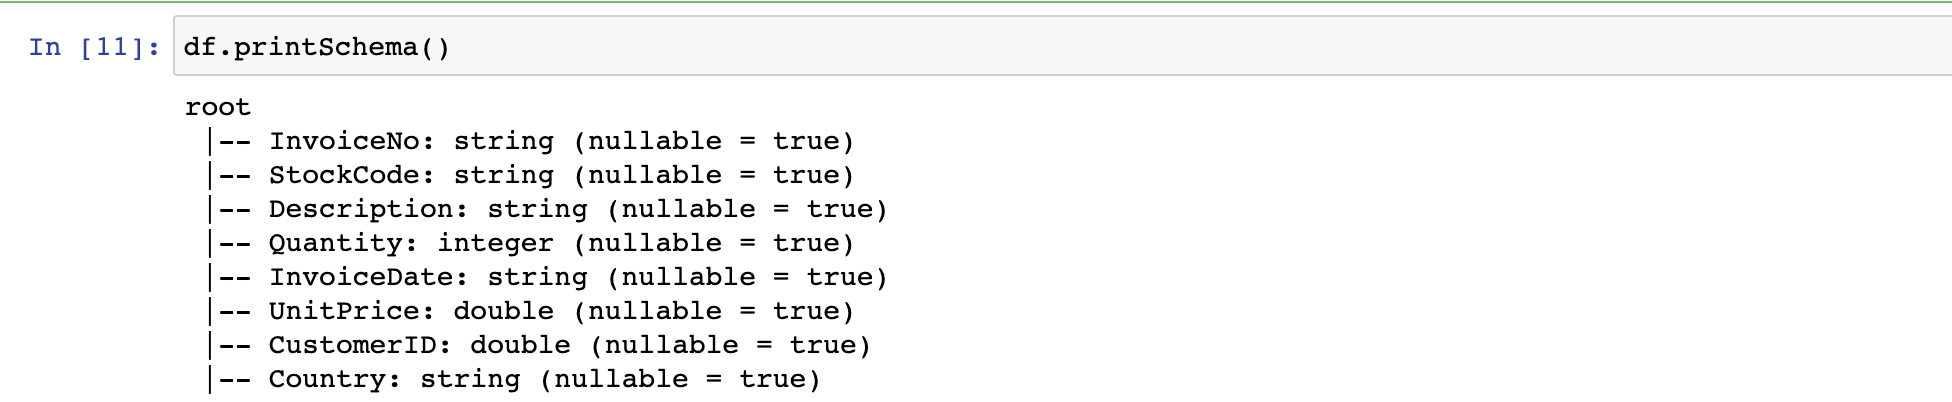
6.2 스파크 데이터 타입으로 변환 ( lit )
- 다른 언어의 데이터를 Spark 데이터 타입으로 변환
#python3
df.select(lit(5), lit("five"), lit(5.0))
6.3 불리언타입 ( 비교/판별 )
- return : True, False
- Scala 이용시 ==와 ===는 주의하여 사용
# python3
df.where(col("InvoiceNo") != 536365)\
    .select("InvoiceNo","Description")\
    .show(5, False)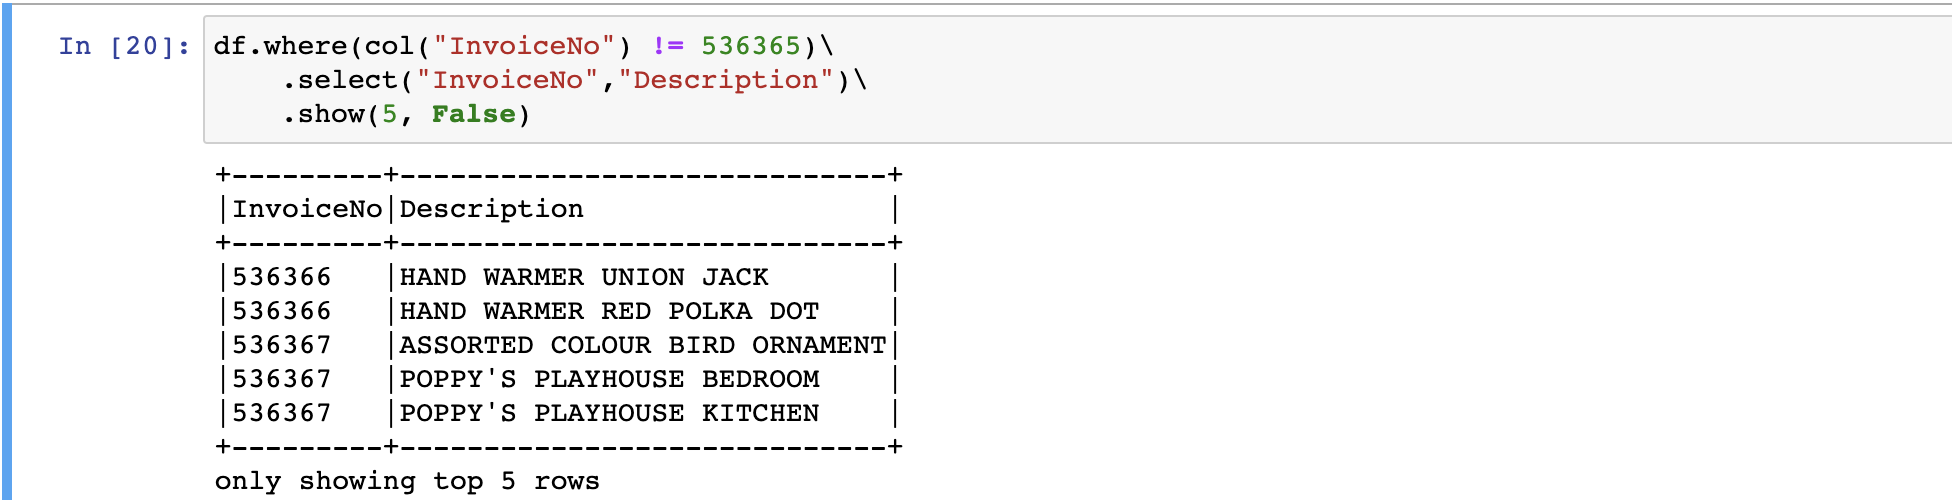
#python3
df.where("InvoiceNo = 536365").show(5) # select * from df where InvoiceNo = 536365 limit 5
df.where("InvoiceNo <> 536365").show(5) # select * from df where InvoiceNo <> 536365 limit 5
- 여러 조건 사용 ( | , & )
#python3

DoTCodeFilter = col("StockCode") == "DOT"
printFilter = col("UnitPrice") > 600
descriptFilter = instr(col("Description"), "POSTAGE") >= 1# instr = 문자 개수 반환

df.withColumn("isExpensive", DoTCodeFilter & (printFilter | descriptFilter) )\
    .where("isExpensive")\
    .select("UnitPrice", "isExpensive").show(5)

# SELECT UnitPrice, ( StockCode = 'DOT' AND (UnitPrice > 600 OR instr(Description'POSTAGE') )
# FROM df
# WHERE StockCode = 'DOT AND (UnitPrice > 600 OR instr(Description'POSTAGE')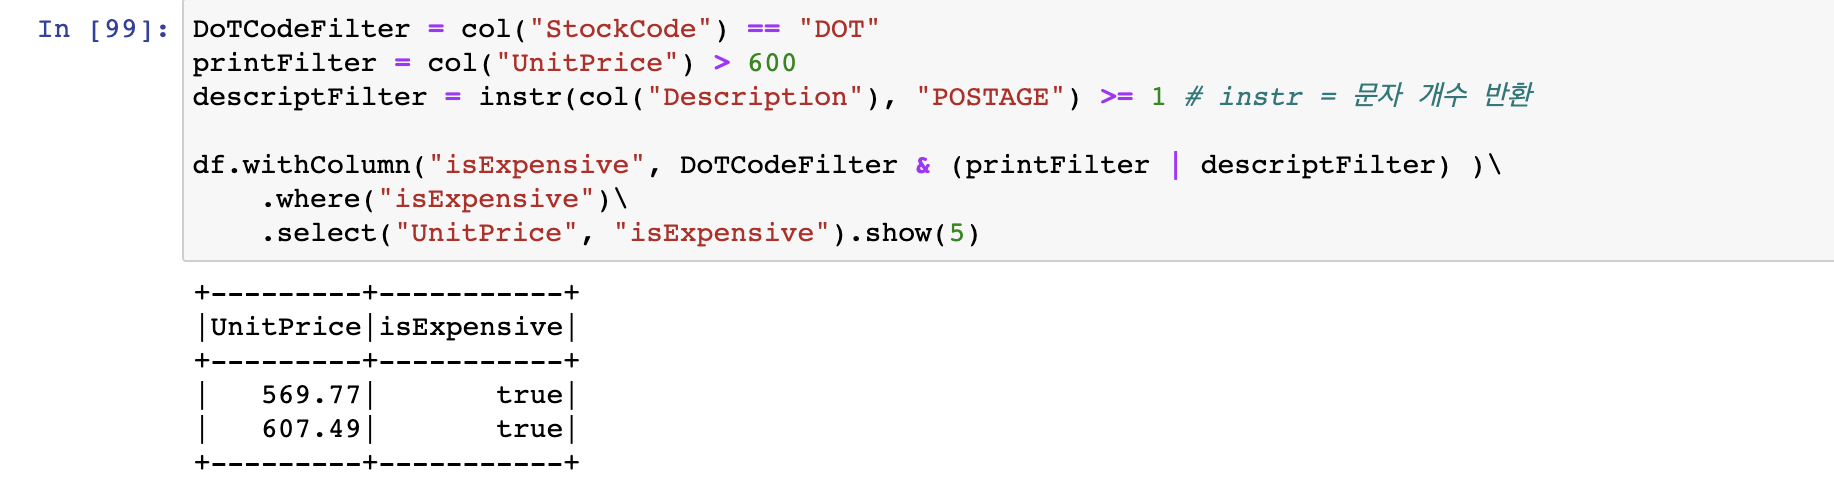
#pthon3
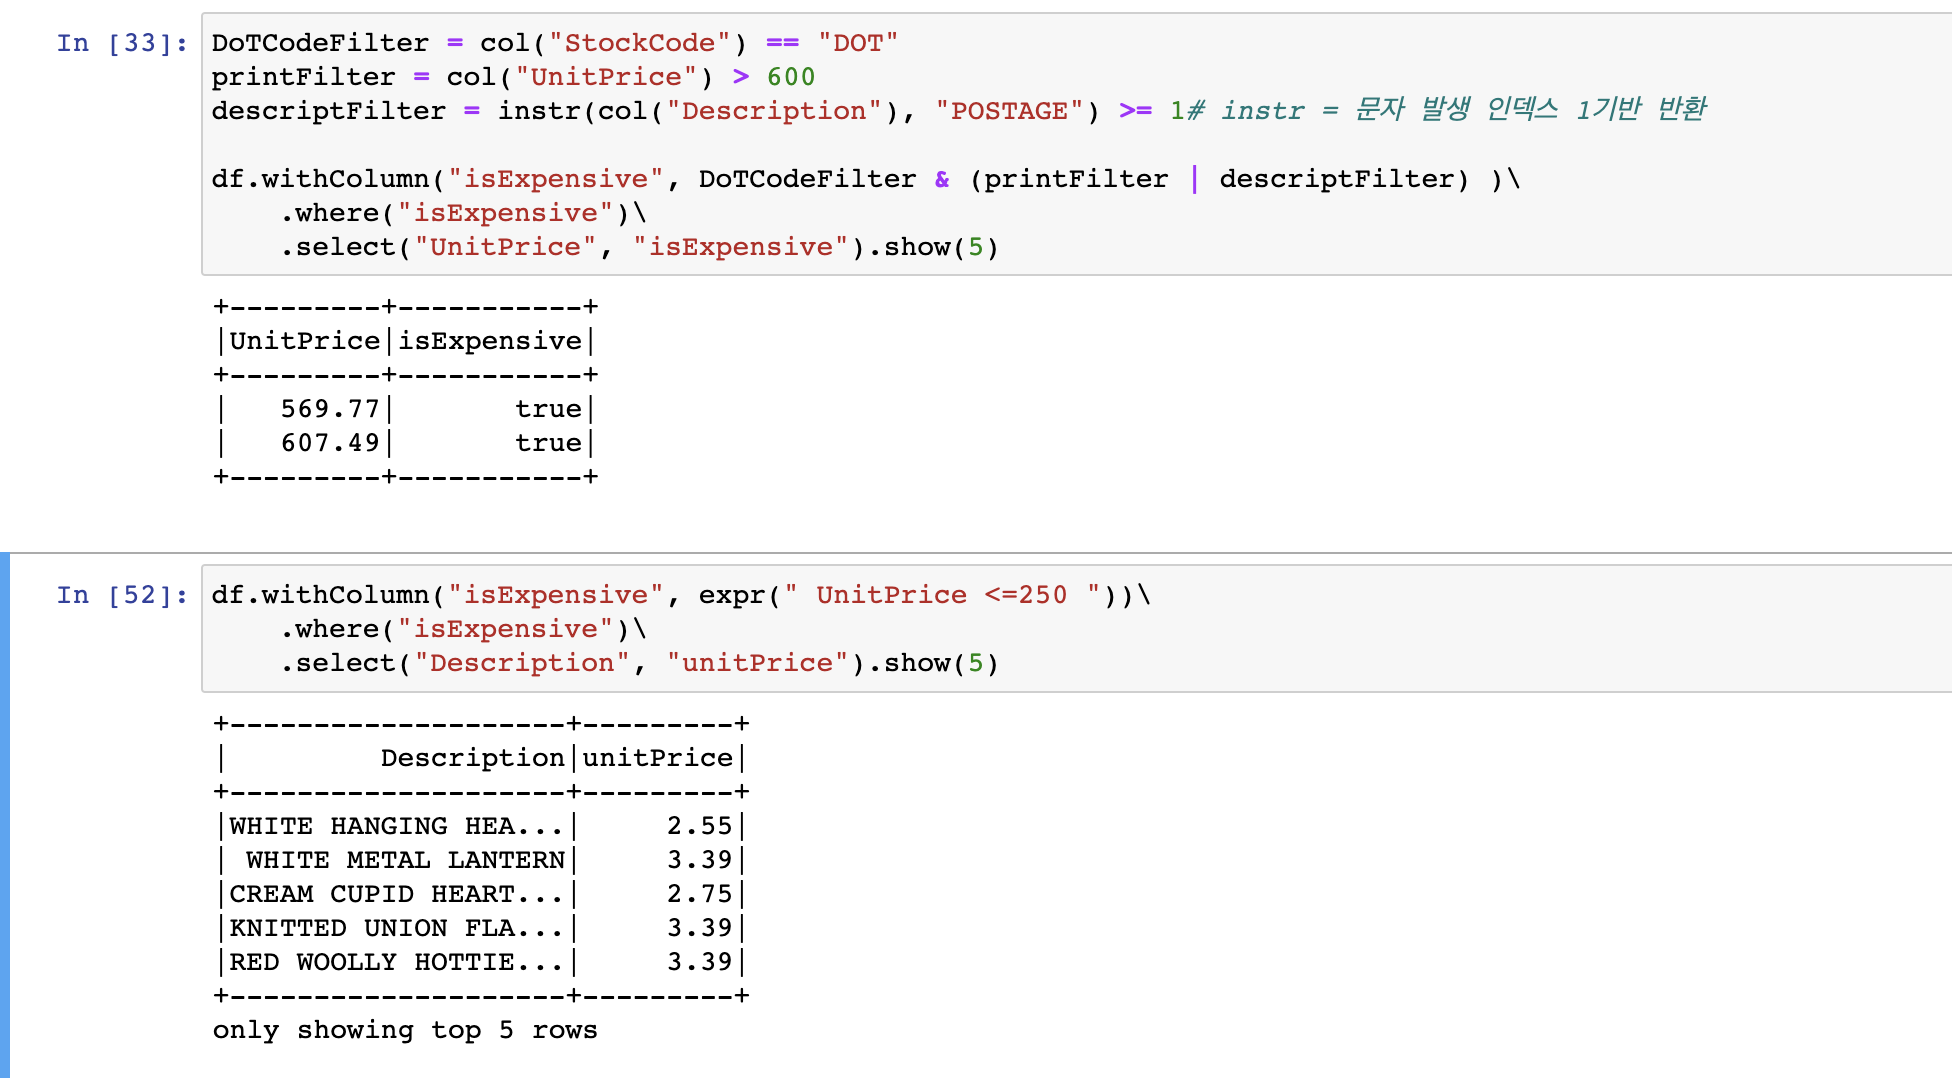
df.withColumn("isExpensive", expr(" UnitPrice <=250 "))\
.where("isExpensive")\
.select("Description", "unitPrice").show(5)output
- null 데이터를 다룰때는 eqNullSafe를 사용하여 안전하게 처리함
df.where( col("Description").eqNullSafe("hello") ).select("Description").show(5)
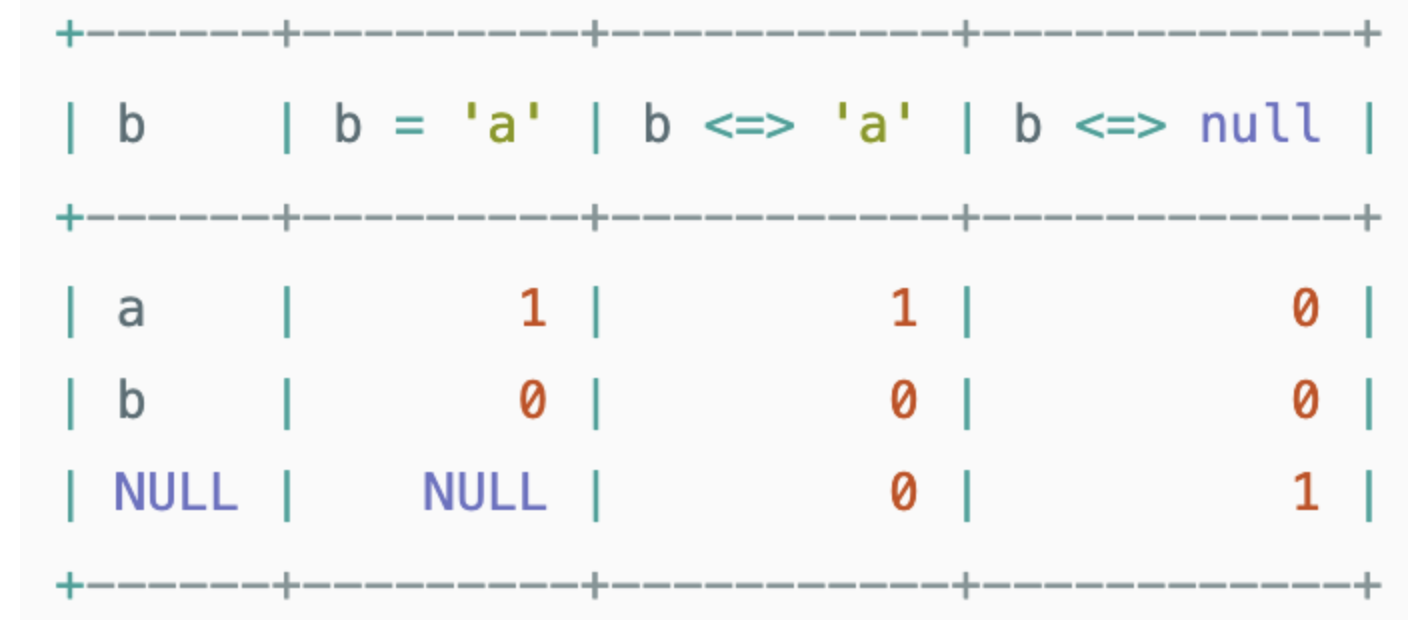
- eqNullSafe : Sql에서 <=> 연산자와 같음## 일반적으로는 = 와 같지만 Null과 비교시 비교할 값과 Null을 그대로 비교 가능
6.4 수치형 데이터 타입(pow, count ... )
-
기능 예시 pow 거듭제곱 pow(col(”quantity”) * col(”UnitPrice”) , 2 ) + 5 round 반올림 round("UnitPrice", 1).alias("roundCol") bound 내림 bround("UnitPrice", 1).alias("boundCol") corr 피어슨 상관계수 corr("Quantity", "UnitPrice" ).alias("corrCol") describe 통계정보 (콘솔에서만사용) df.describe().show() * count, mean, stddev, min ,max정보 출력 stat.approxQuantile 백분위수? df.stat.approxQuantile("UnitPrice", [0.5], 0.05) # 2.51 * ...approxQuantile(”col”, quntileProbs, relError) stat.crosstab 교차코드? df.stat.crosstab("StockCode", "Quantity" ).show() freqItems 항목쌍 df.stat.freqItems(["StockCode", "Quantity"] ).show() monotonically_increasing_id 고유 ID생성 (0부터) df.select(monotonically_increasing_id())
6.5 문자열 데이터 타입()
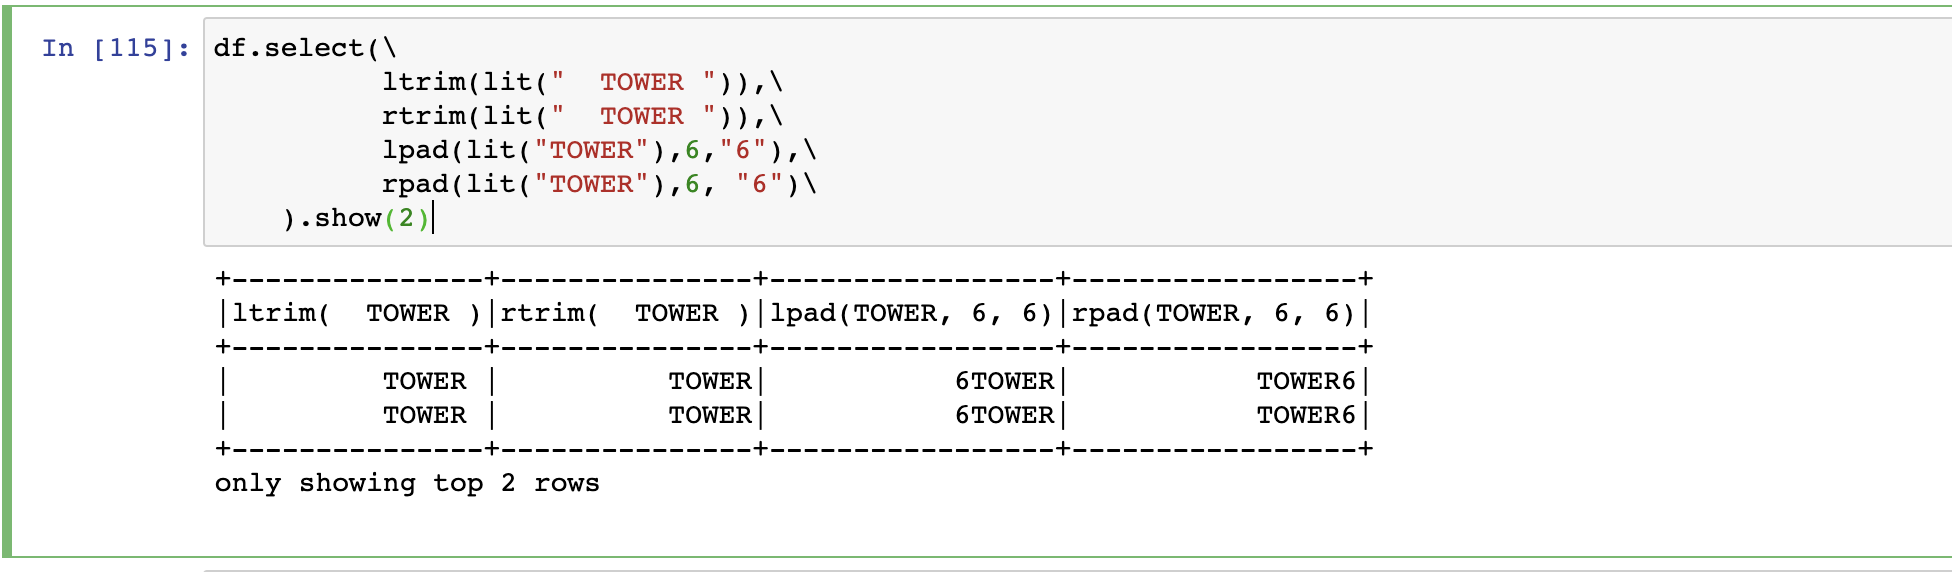
함수 기능 예시 initcap 첫글자 대문자로 변경 (공백기준) df.select( initcap(col("Description")) ).show() lower 전체 소문자 변경 df.select( lower(col("Description")) ).show() upper 전체 대문자 변경 df.select( upper(col("Description")) ).show() ltrim 좌측 공백 제거 ltrim(lit(" TOWER ")) rtrim 우측공백제거 rtrim(lit(" TOWER ")) lpad 왼쪽에 문자 추가 lpad(lit("TOWER"),6,"6") * 지정한 길이보다 작을경우 우측부터 지워짐 rpad 오른에 문자 추가 rpad(lit("TOWER"),6, "6") * 지정한 길이보다 작을경우 우측부터 지워짐 output
6.5.1 정규표현식 ( regexp_extract, regexp_replace , translate, contains , instr )
- regexp_replace(변환)
#python3

df.select(regexp_replace(col("Description"), "BLACK|WHITE","COLOR") ).show(2)
# *regexp_replace(col, 정규표현식, 변환문자)
- regexp_extract (추출)
#python3

df.select(regexp_extract(col("Description"), "(BLACK|WHITE)", 1) ).show(2)
# *regexp_extract(col, 정규표현식, 1(???))
# 정규표현식에서 처음 발견되는 단어 추출
- translate(치환)
- 문자단위 치환
#python3

df.select(translate(col("Description"), 'LEET', '1337')).show(2)
# L->1 , E->3, T->7
- 문자단위 치환
- contains( 포함여부 확인 // bool type return )
- 책에선 scala전용 문법으로 표현되는것 같으나, 최신버전에서는 사용이 가능한것으로 확인됨
#python3

df.select(col("Description").contains("WHITE H"), col("Description") ).show(2)

# -> Return true or false
- instr (존재확인)ins
- 일치하는 위치값을 return 함 (1부터시작)

- >= 1 을 함께 사용하여 해당 문자열이 존재하는지 확인하는 용도로 사용할 수 있음
#python3

containsBlack = instr(col("Description") , "BLACK") >=1
containsWhite = instr(col("Description") , "WHITE") >=1

df.withColumn("hasSimpleColor", containsBlack | containsWhite)\
    .select("Description").show(2)
output

- 일치하는 위치값을 return 함 (1부터시작)
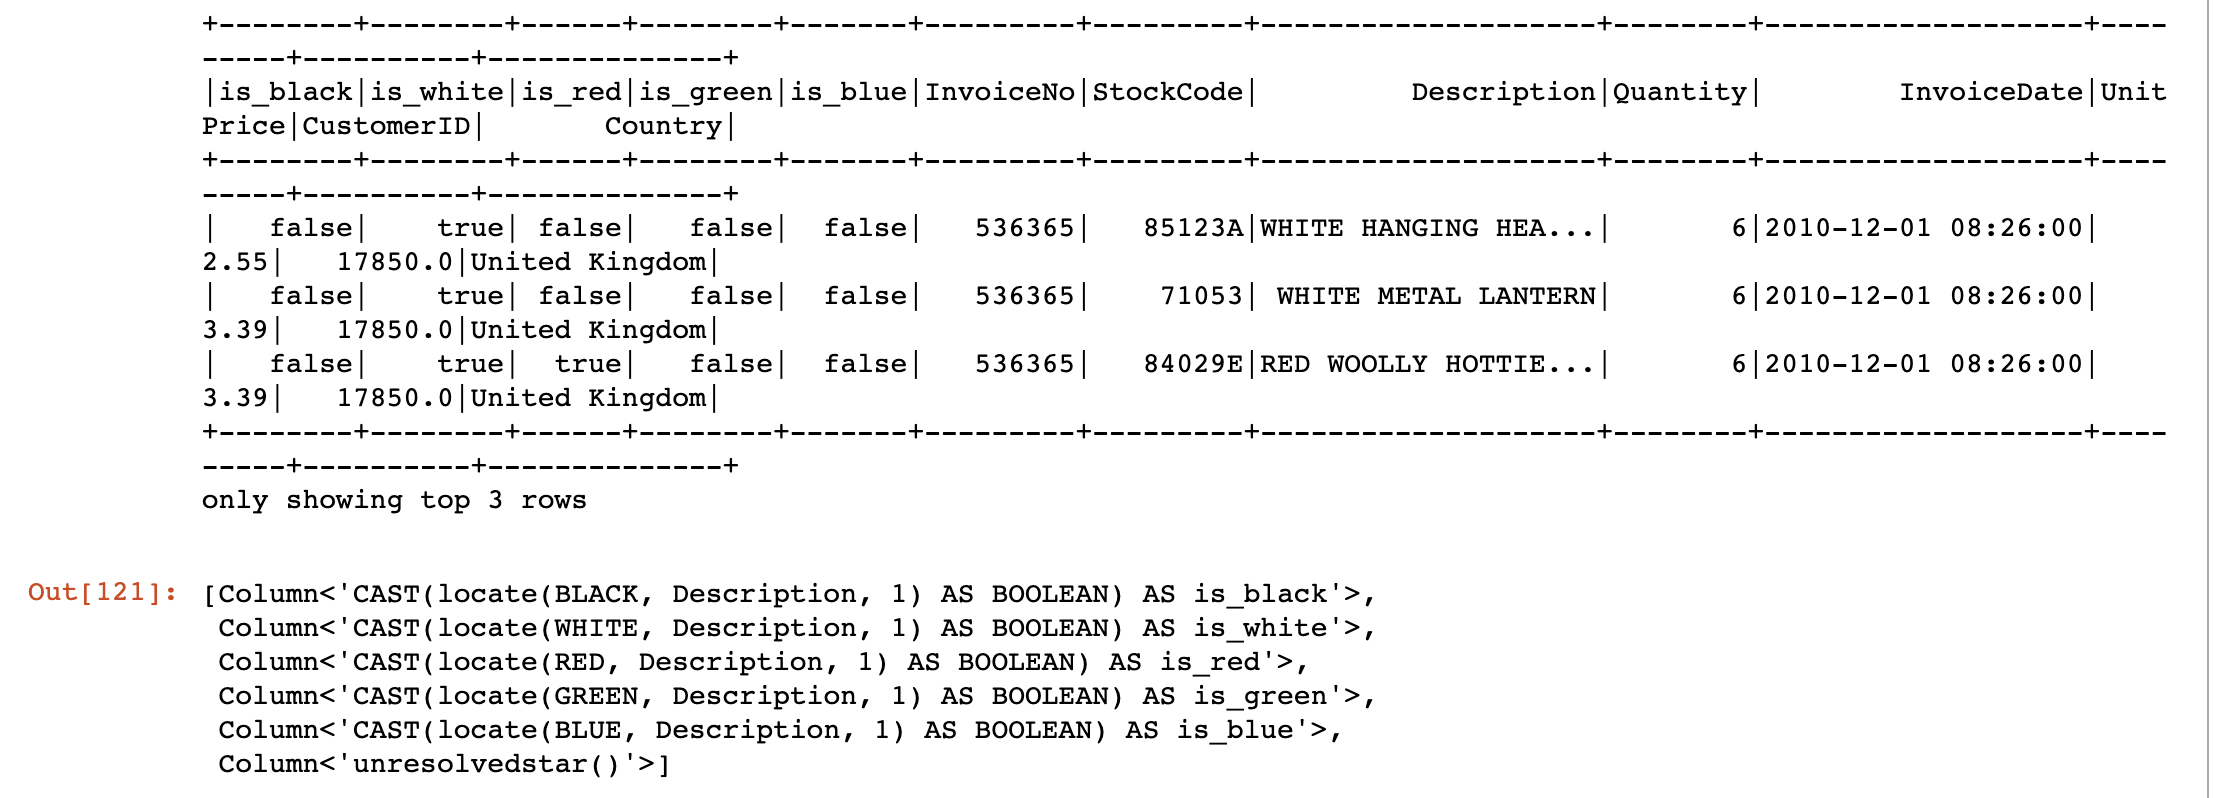
- locate ( 문자열의 위치(위치는1부터시작)를 정수로 반환 )
simpleColor = ["black", "white", "red", "green", "blue"]

def color_locator(column, color_string):
    return locate(color_string.upper(), column)\
            .cast("boolean")\
            .alias("is_" + color_string)


selectedColumn = [color_locator(df.Description , c) for c in simpleColor ]
selectedColumn.append(expr("*")) # column 타입이어야함

# ouput1
df.select(*selectedColumn).where(expr("is_white OR is_red")).show(3)

# ouput2
selectedColumn
output
6.6 날짜와 타임스탬프 데이터 타입 다루기
- 따로 설정이 없을경우 system 시간을 따르지만 spark Session time 을 따로 설정할 수 있음
spark.sql.session.timeZone변경 ( spark config 파일 내 )
- 시간 포맷은 JAVA TimeZone 포맷을 따름.
- 날짜를 파싱할 수 없는경우 null 반환함 (날짜형식을 지키지 않을 경우)
- 올바른 날짜 및 타임스탬프를 사용할경우 부등호를 사용하여 날짜 비교가 가능함.
#python3
dateDF = spark.range(10)\
        .withColumn("today", current_date())\
        .withColumn("now", current_timestamp())\

# dateDF.createOrReplaceTempView("dataTable")

#output1
dateDF.printSchema()
#output2
dateDF.show(5,False)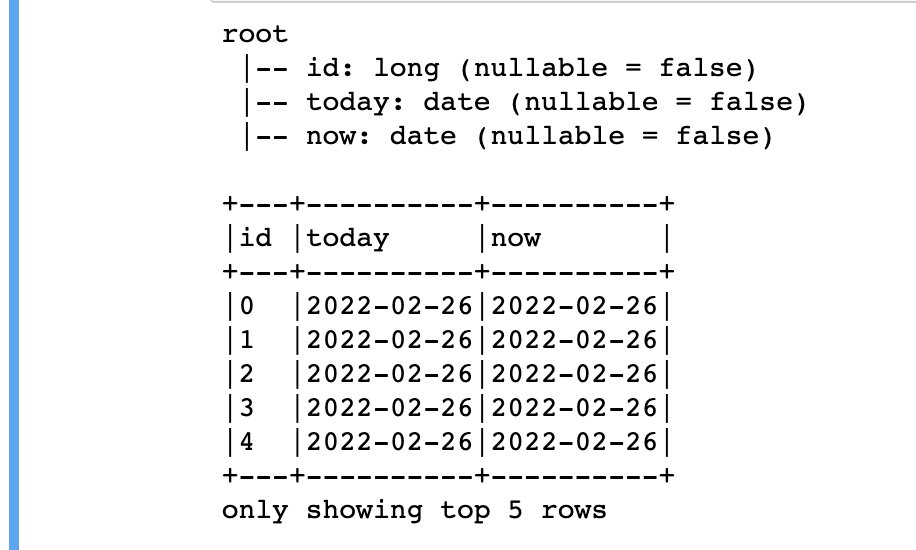
- 날짜 빼기(date_sub), 날짜 더하기(date_add)
dateDF.select( date_sub(col("today"), 5) , date_add(col("today"), 5)).show()
- 문자열을 날짜로 변경 (todate)
- JAVA의 simpleDateFormat클래스가 지원하는 포맷만 사용해야함
spark.range(5).withColumn("date",lit("2017-01-01"))\
 .select(to_date(col("date"))).printSchema()
before / after


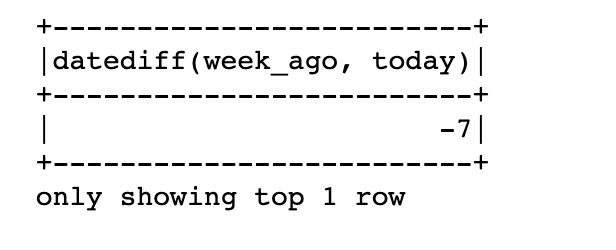
- 두 날짜 사이의 기간 구하기 ( datediff )
dateDF.withColumn("week_ago", date_sub(col("today"), 7))\
        .select(datediff(col("week_ago"), col("today"))).show(1)
 # arg1기준 arg2가 과거일 경우 음수, 미래일 경우 양수
 # 과거,미래 = 음수 // 미래, 과거 = 양수
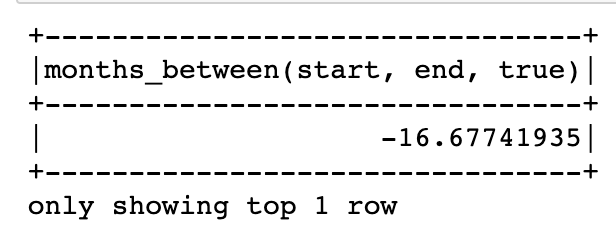
- 두 날짜 사이의 개월 수 반환 ( months_between )
dateDF.select(
    to_date(lit("2016-01-01")).alias("start"),
    to_date(lit("2017-05-22")).alias("end"))\
.select(months_between(col("start") , col("end")) ).show(1)
- 포맷에 맞춰 날짜 설정 ( to_timestamp )
dateFormat = "yyyy-dd-MM"

cleanDateDf = spark.range(1).select(
    to_date(lit("2022-12-11"),dateFormat).alias("date"),
    to_timestamp(lit("2022-20-11"),dateFormat).alias("date2"),
    to_date(lit("2022-20-11")).alias("null_date"))


cleanDateDf.show()
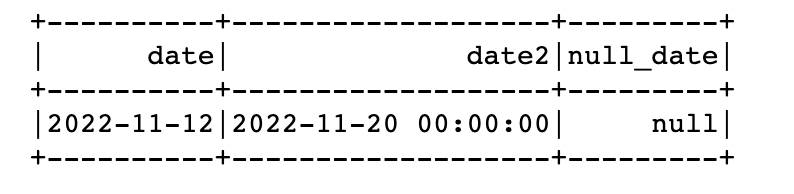
to_date는 포맷 필수 X
to_timestamp는 포맷 필수 O
6.7 null 값 다루기
- 기본적으로 Datafram의 하위패키지 .na 를 사용함
- 다양 한 null처리 방법 : https://sparkbyexamples.com/spark/spark-how-to-replace-null-values/#replace-null-with-zero
- null테스트 코드 생성
nulldf = df.withColumn("nullData", lit(None).cast("string"))
6.7.1 coalesce
- null이 아닌 첫번째 컬럼 반환
#python3

df.select(coalesce(col("Description"), col("CustomerID"))).show()
6.7.2 ifnull, nullif, nvl, nvl2 ( SQL 함수 )
- Null처리용 SQL 함수
- ifnull ( arg1, arg2 ) → 첫번 값이 null이면 두번째 값을 반환
- nullif (arg1, arg2 ) → 두 값이 같을경우 null 반환
- nvl (arg1, arg2 ) → 첫번 값이 null이면 두번째 값을 반환
- nvl2 ( arg1, arg2, arg3 ) → 첫번쨰 값이 null이 아니면 두번째값, null이면 세번째 값 반환
6.7.3 drop
df.na.drop("any") # any로 설정할 경우 로우의 컬럼중 하나라도 null값을 가지면 로우 제거

df.na.drop("all") # all로 설정할 경우 로우의 모든 컬럼값이 null 혹은 NaN인경우 로우 제거

df.na.drop("all", subset=["StockCode", "InvoiceNo"]) # 특정 컬럼을 지정하여 null 체크 후 로우 제거
6.7.4 fill
- null 인경우 값을 채움
df.na.fill("String null data") # String 컬럼이 null 일경우 값 채우는 예시
df.na.fill(5:Integer) # 숫자타입 null 일 경우 채우는 예시

df.na.fill("all", subset=["StockCode", "InvoiceNo"]) # 특정 컬럼에 적용
6.7.5 replace
- null 일 경우 다른값으로 대체
df.na.replace([""],["UNKNOWN"],"Description")

# String type의 경우 null을 fill함수를 통하여 “”로 치환한 후 이후 repalce 를 사용하여야함.
6.7.X where절 사용(내용추가)
df.where("CustomerId IS NOT NULL")
		.select()
6.8 정렬하기 ( 5.4.15 와 동일한 내용 )
- asc_nulls_first, asc_nulls_last, desc_nulls_first, desc_nulls_last 함수를 사용하여 정렬 상태에서 null 표시 기준 지정 가능
6.9 복합 데이터 타입 다루기
- 구조체, 배열 , 맵
6.9.1 구조체 ( struct, getField )
- 다수의 컬럼을 괄호로 묶어 구조체를 만들 수 있음 ( getField 혹은 . 을 사용하여 접근 )
- *를 사용해 전체 조회가 가능함
complexDF = df.select(struct("Description", "InvoiceDate").alias("complex"))

#Case1
complexDF.select(col("complex").getField("Description")).show()
#Case2
complexDF.select("complex.Description").show()
#Case3
complexDF.select("complex.*").show()
6.9.2 배열 ( split , size, array_contains, explode)
## 예시 split 을사용하여 배열로 변경하여 사용
df.select(split("Description"," ")).show()- python과 유사한 방식으로 사용
df.select(split("Description"," ").alias("array_col"))\
    .selectExpr("array_col[0]").show()
- 배열의 길이 (size)
df.select(size(split("Description"," ")).alias("array_size")).show()
- 특정값 존재여부( array_contains )
df.select(array_contains(split("Description"," ") , "WHITE").alias("array_contains")).show()
- 복합데이터 타입 ( explode )
- 각 배열값 갯수만큼 새로운 로우를 생성함

- 예제
df.withColumn("splitted", split("Description"," "))\
    .withColumn("exploded", explode(col("splitted")))\
    .select("Description","InvoiceDate","exploded","splitted").show(10,False)
- 각 배열값 갯수만큼 새로운 로우를 생성함
6.9.3 맵 ( create_map )
- 키-값 쌍 생성 , 배열과 동일한 방법으로 접근 가능
# 맵 생성 ( key, value: ( Description : InvoiceNo ))
mapdf = df.select(create_map(col("Description"), col("InvoiceNo")).alias("explex_map"))

mapdf.selectExpr("explex_map['WHITE METAL LANTERN']").show(5)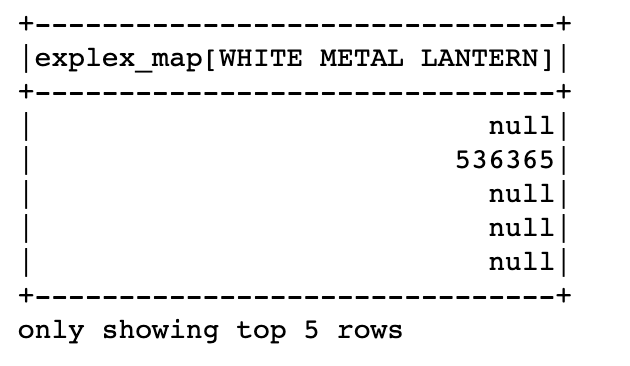
- map을 분해하여 컬럼으로 변환 (exploade)
mapdf.selectExpr("explode(explex_map)").show(5,False)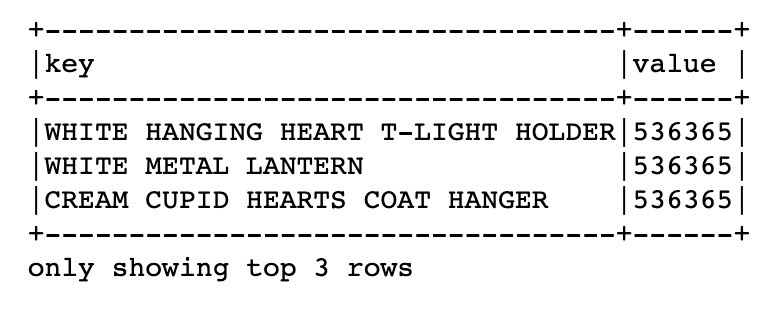
6.9.10 JSON 다루기 (get_json_object, json_tuple, to_json)
# 테스트 Json DF 생성
jssonDF = spark.range(1).selectExpr("""
    '{"myJSONKey" : {"myJSONValue" : [1,2,3]}}' as jsonString """)

##  {"myJSONKey" : {"myJSONValue" : [1,2,3]}}
jssonDF.select(
    get_json_object(col("jsonString"), "$.myJSONKey.myJSONValue[1]").alias("column"),
    json_tuple(col("jsonString"), "myJSONKey")).show(2)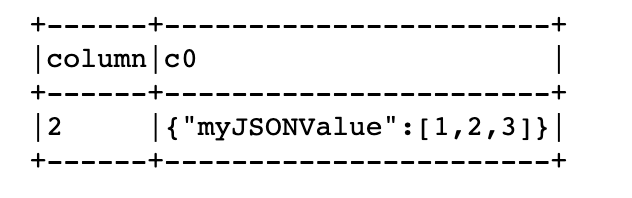
- to_json함수를 사용하여 json형태의 Struct Type을 JSON문자열로 변경
df.selectExpr("(InvoiceNo, Description) as myStruct")\
    .select(to_json(col("myStruct"))).show(3,False)
- from_json함수를 사용하여 Json문자열을 다시 객체로 변환 ( 스키마 지정 필수 )
parseSchema = StructType((
    StructField("InvoiceNo", StringType(), True),
    StructField("Description", StringType(), True)))


df.selectExpr("(InvoiceNo, Description) as myStruct")\
    .select(to_json(col("myStruct")).alias("newJSON"))\
    .select(from_json(col("newJSON"),parseSchema), col("newJSON")).show(2,False)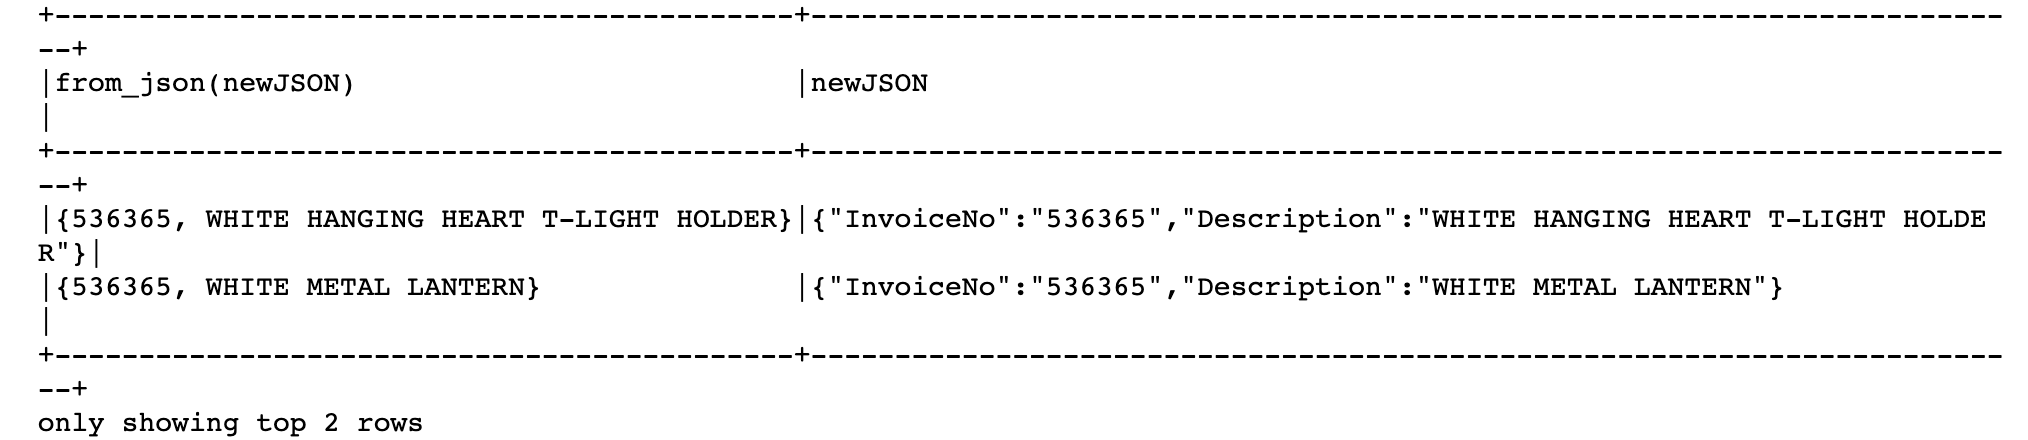
6.11 사용자 정의 함수 (UDF)
- UDF : User Defined function
- Spark Sesison 이나 Context 에서 사용가능하도록 임시 함수 형태로 등록됨.
- 예시
# 세제곱 연산 ( power3 )

udfExampleDF = spark.range(5).toDF("num")

def power3(double_value):
    return double_value ** 3

# power3 --> 8.0

#사용자함수 등록
power3udf = udf(power3)

udfExampleDF.select(power3udf(col("num"))).show(2
6.12 Hive UDF
- Spark Sessison 을 생성할때
spark.session.builder().enableHiveSupport()를 명시하여 활성화 한 후 사용 가능.
6.13 정리
Uploaded by N2T